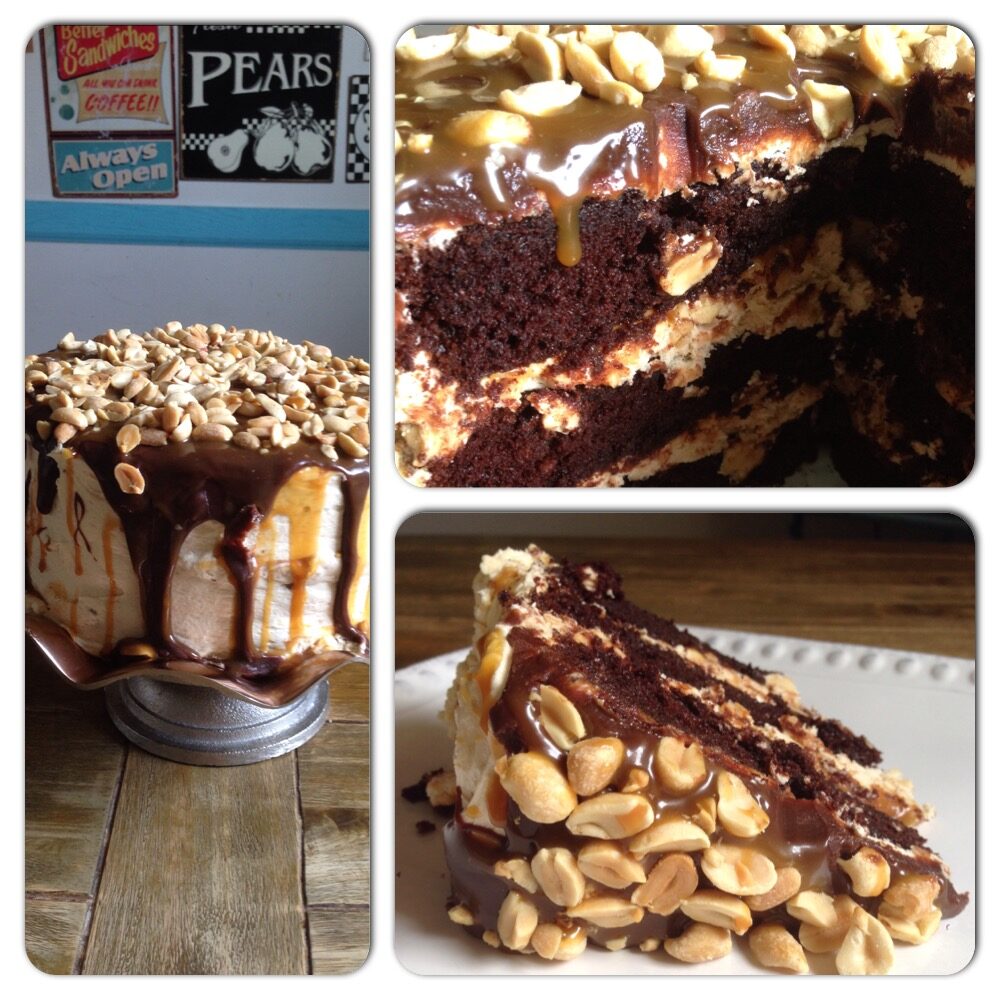
Your favorite childhood candy bar is transformed into a true decadent treat!
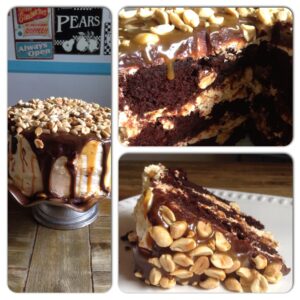
If you’re anything like me and love snicker bars, you’re going to go crazy over this cake! It’s everything you love about a snicker Bar reimagined as a super moist, decadent, chocolate layer cake. From the salted caramel frosting, right down to the nougat filling, this baby is exploding with flavor! Its one of those cakes you just can’t trust yourself around. Every time you walk into the kitchen you’ll find yourself nibbling on a piece. Usually I have more self-control, but when it comes to this cake I feel helpless. No matter how hard I tried I couldn’t keep my grubby hands off of it. Trust me when I tell you this cake is not meant for casual consumption. Whip it up for a special occasion but by no means make it simply just because. Your waist line will pay dearly! I was fully aware that this cake is one of my weaknesses, however because it was my birthday I thought I’d bring this recipe out of retirement. And let me tell you, it was just as good as I remember! And let me tell you, I still have no self-control when it comes to this cake! Looks like this recipe is going back into the vault. Oh well, it was fun while it lasted. The full delicious recipe is listed below. Bake it now, regret it later!
Pro tips…
- This cake is delicious, but doesn’t come together quickly. I highly suggest that you make the salted caramel sauce and frosting the day before making the cake layers, nougat filling and milk chocolate ganache.
- To fully enjoy this cake, let it sit out and warm up to room temperature before indulging into a slice. It will be hard but I know you can do it.
INGREDIENTS:
FOR THE CAKE:
2½ cups + 1 tablespoon all-purpose flour
3 cups granulated sugar
1 cup + 1 tablespoon Dutch-process cocoa powder
1 tablespoon baking soda
1½ teaspoons baking powder
1½ teaspoons salt
3 eggs (at room temperature)
1½ cups buttermilk (at room temperature)
1½ cups strong black coffee (hot)
¾ cup vegetable oil
4½ teaspoons vanilla extract
FOR THE NOUGAT FILLING:
4 tablespoons unsalted butter
1 cup granulated sugar
¼ cup evaporated milk
1½ cups marshmallow fluff
¼ cup creamy peanut butter
1 teaspoon vanilla extract
1½ cups salted peanuts (roughly chopped)
FOR THE SALTED CARAMEL BUTTERCREAM FROSTING:
½ cup unsalted butter (at room temperature)
4 ounces cream cheese (at room temperature)
¼ cup salted caramel sauce
2 cups powdered sugar
FOR THE MILK CHOCOLATE GANACHE:
8 ounces milk chocolate (finely chopped)
4 ounces ½ cup heavy cream
FOR THE ASSEMBLY / GARNISH:
Additional salted caramel sauce
Chopped peanuts
DIRECTIONS:
-
Make the Cake: Preheat oven to 350 degrees F. Grease three 8-inch round cake pans, line the bottoms with rounds of parchment paper, grease the parchment, then flour the insides of the pans, tapping out excess; set aside.
-
In the bowl of an electric mixer (or large mixing bowl if you’re using a hand mixer), sift together the flour, sugar, cocoa powder, baking soda, baking powder and salt. In a medium bowl, whisk together the eggs, buttermilk, coffee, oil and vanilla.
-
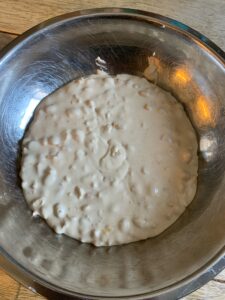
Add the wet ingredients to the dry ingredients and mix for 2 minutes on medium speed. Scrape the sides and bottom of the bowl and mix for an additional 20 seconds (the batter will be very thin).
-
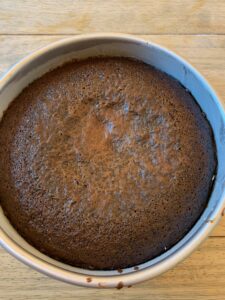
Divide the batter evenly among prepared pans. Bake for 20 minutes and rotate the pans in the oven. Continue to bake until a toothpick inserted into the center of one of the cakes comes out almost clean (with a few moist crumbs), about 12 more minutes. Cool the cakes (in the pans) on wire racks for 20 minutes, then carefully turn them out onto cooling racks to cool completely.
-
Make the Nougat Filling: Melt the butter in a medium saucepan over medium heat. Add the sugar and evaporated milk, stirring until dissolved, and bring to a boil. Reduce the heat to low and cook for 5 minutes, stirring occasionally. Remove the pan from heat and add the marshmallow fluff, peanut butter, and vanilla extract, stirring until completely smooth. Fold in the peanuts. Let the nougat mixture cool to room temperature before using it in the cake. You can do this leaving it at room temperature or you can pop it into the refrigerator to speed up the process. Be sure to give a stir occasionally as it cools.
-
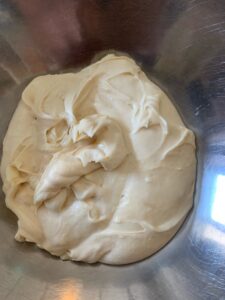
Make the Frosting: Beat together the butter and cream cheese on medium-high speed for 5 minutes (I like to use the whisk attachment for my KitchenAid stand mixer, but it’s not necessary). Pour in the salted caramel and beat until combined. Reduce the speed to medium-low and slowly add the powdered sugar, a little at a time, until it has all been incorporated. Increase the speed to medium-high and beat for an additional two to three minutes, until light and fluffy.
-
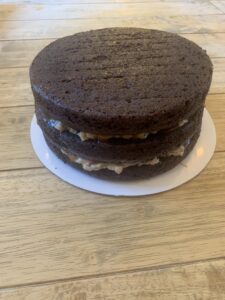
Assemble the Cake: If your cakes baked up uneven or have domed on top, level off the tops. Place one cake layer on a serving plate. Cover with half of the nougat filling and then spread a couple spoonfuls of the salted caramel sauce over top to evenly cover the nougat filling. Top with a second cake layer and cover with the remaining nougat filling and top with caramel sauce. Place the final cake layer on top face-down. Frost the cake with the salted caramel frosting, finishing it as smoothly as possible. Refrigerate the cake for at least 1 hour, until the frosting is set.
-
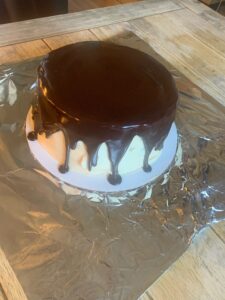
Make the Chocolate Ganache: While the cake chills, make the chocolate ganache. Place the chocolate in a medium bowl; set aside. Place the cream in a small saucepan over medium heat and warm until it just comes to a boil. Pour the cream over the chopped chocolate and let sit for 2 minutes. Begin whisking the mixture in the center, gradually working your way outward until the ganache is completely smooth. Set aside to cool, whisking occasionally, until it has thickened slightly, yet still a pourable consistency.
-
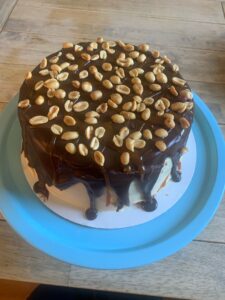
Garnish the Cake: Transfer the ganache to a 2-cup measuring cup. Slowly pour the chocolate ganache into the center of the cake, letting it push itself outward and flow over the sides of the cake. Refrigerate the cake for at least 30 minutes, giving the ganache a chance to set up. To finish garnishing, drizzle some additional salted caramel sauce over the top and side of the cake, and top with chopped peanuts. Keep the cake refrigerated, removing it from the refrigerator about 20 minutes prior to serving.
Recipe adapted from the Brown Eyed Baker.


